Showing posts with label Scenario. Show all posts

Monday, September 8, 2025

Capturing more bridges...

 o/ 

One hellova fight in progress!

As promised previously, Nick & I played this scenario again with our roles reversed. This time I was playing the defenders and he the attackers. Oddly, I was playing Capellans and Nick Mercenaries, so we also switched factions. 9300 BV this time as Nick's force was a little off again, 3050s era although Nick would end up fielding no upgraded tech. 

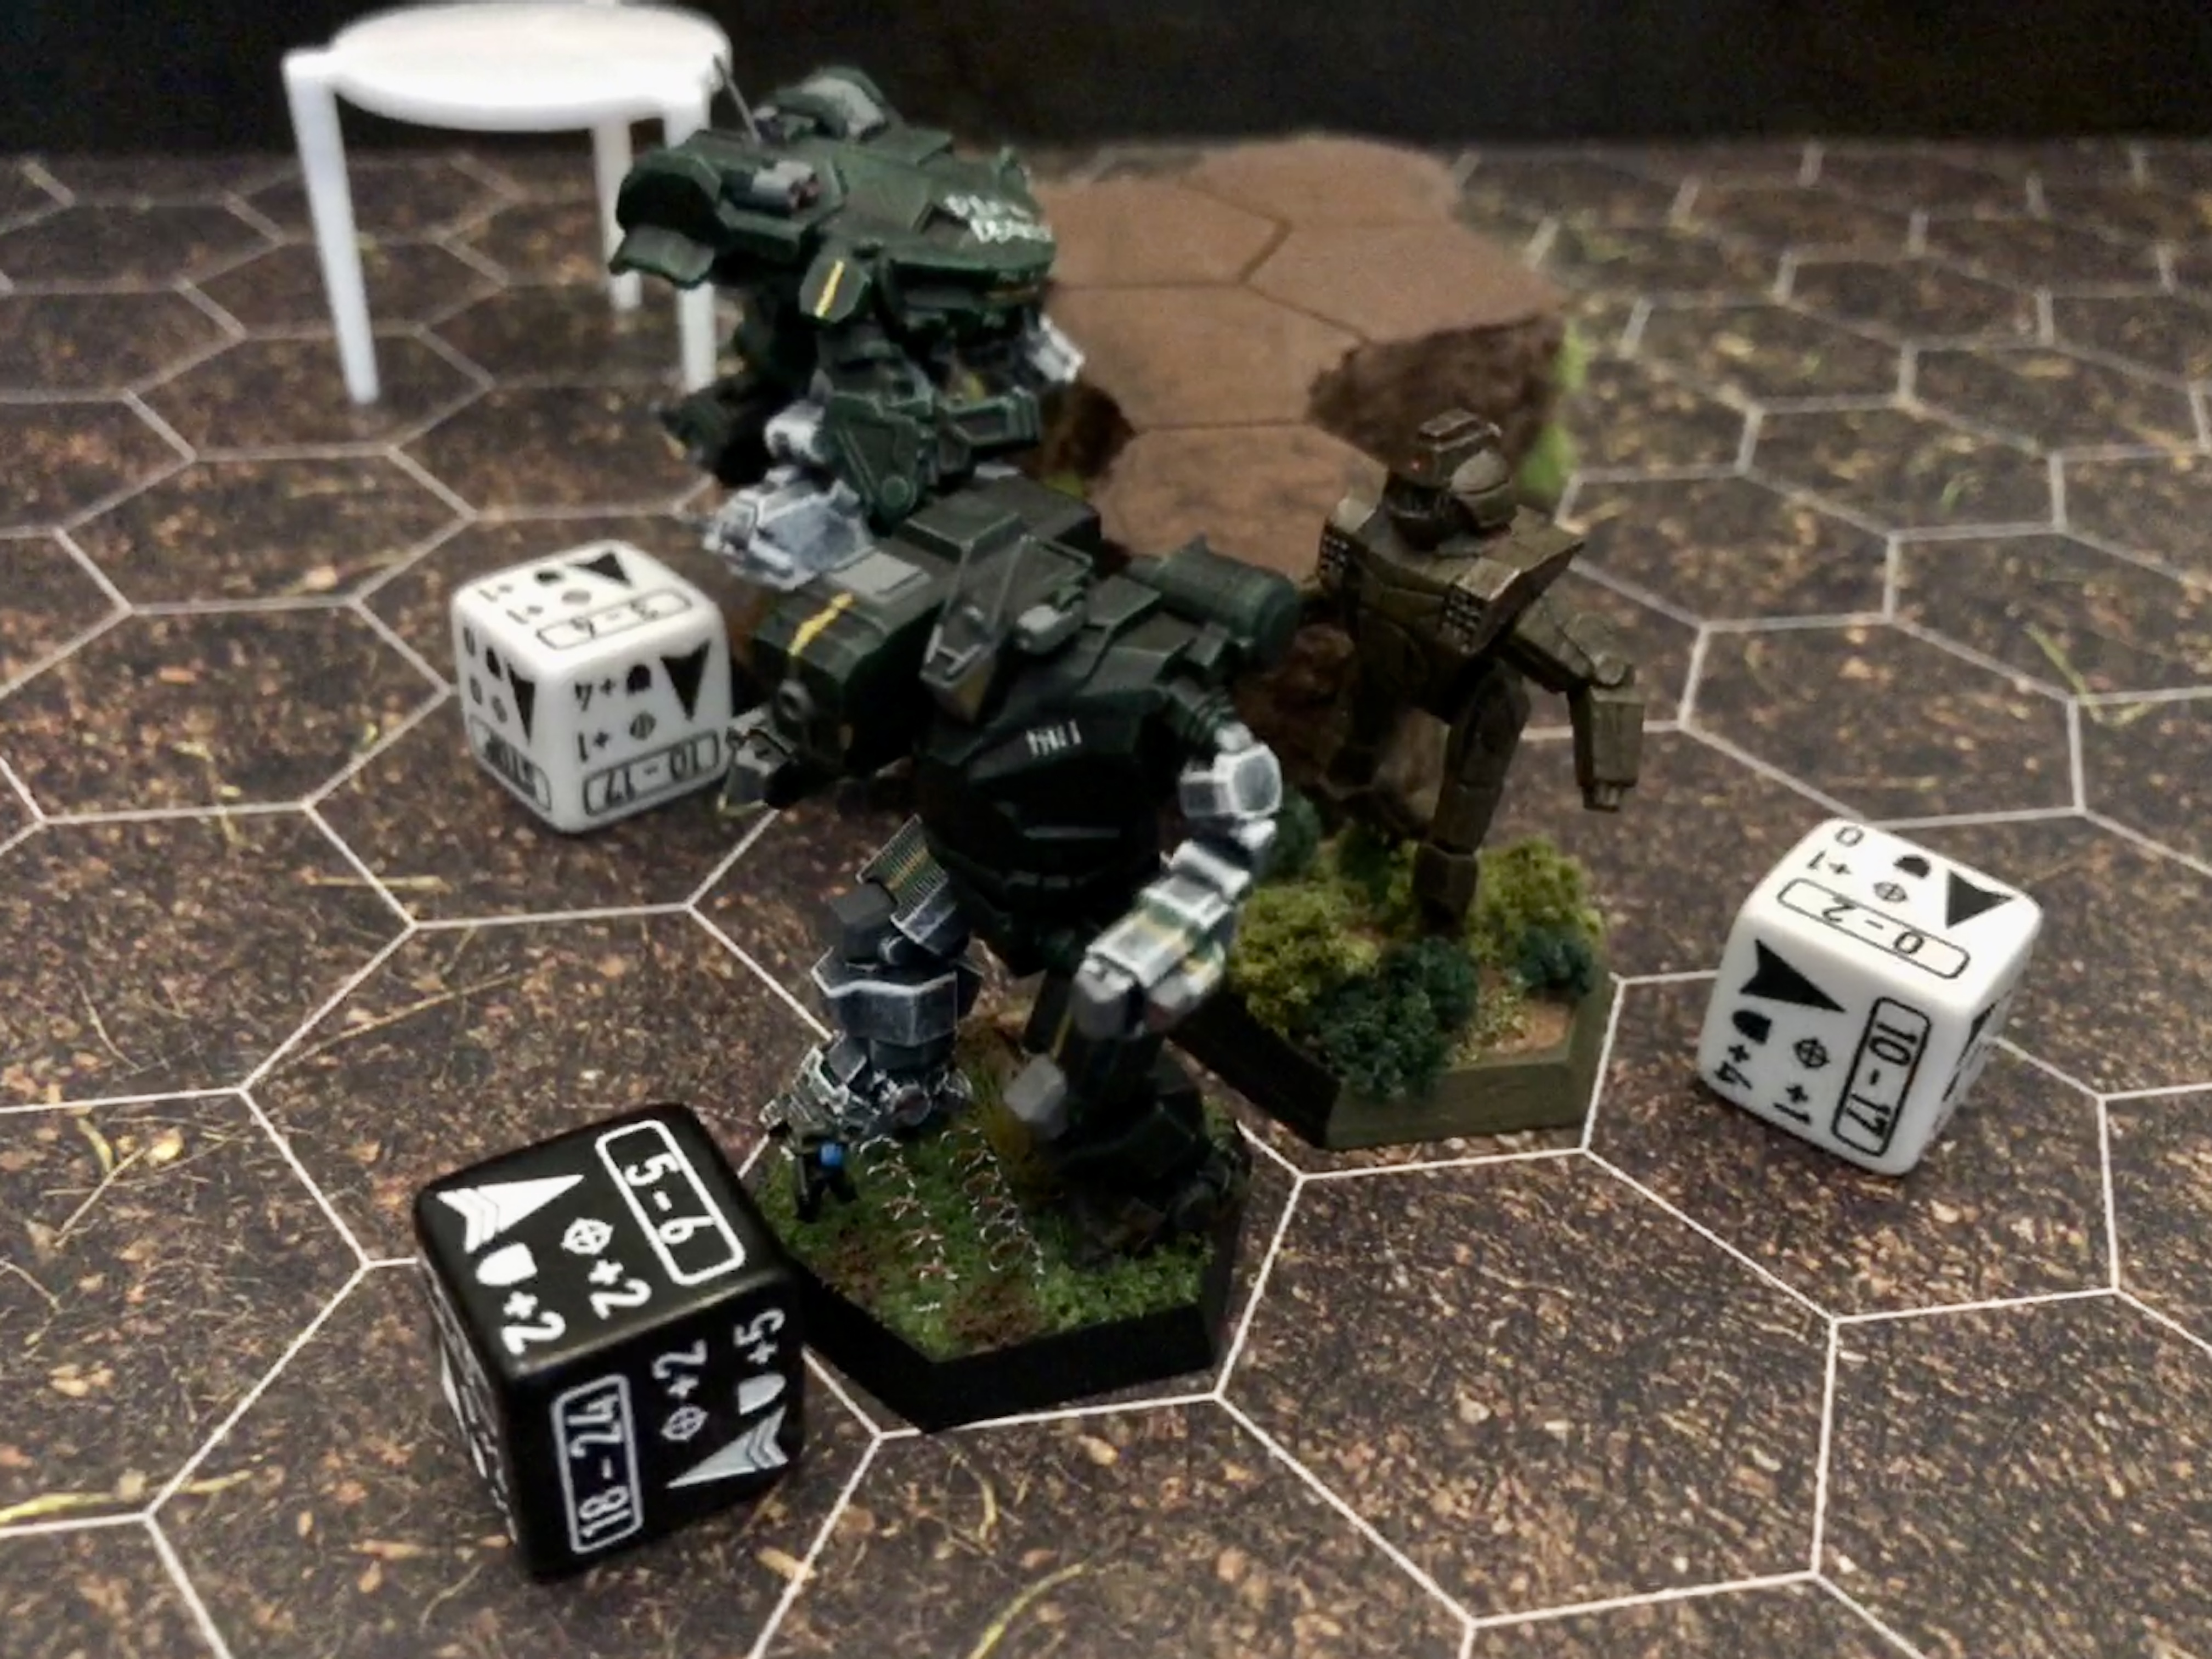
Here's how it all went, or as best I can recall as there were a lot of mechs and tanks on the board. 

My Capellan Homeguard force which I called the Jedburg Militia (Jedburg is a town not far from here, with the most redneck sounding name that I have ever heard of). I had a Heavy Mountain Platoon, 3055 LRM carrier, (2) standard Bulldogs, a Liao Vedette, a UM-60, UM-R63, (2) UM-R60Ls (both with 3/5 pilots), an RVN-3L, RVN-4X, CTF-1X and a CPLT-C4C with a 3/5 pilot and serving as my commander. 

The battlefield during our opening maneuvers.

A better view of the same...

I did not get a group photo of Nick's forces, but you can see them pretty good here. In green were The Swamp Foxes fielding a Highlander, Marauder, Quickdraw & Valkyrie, and in blue with the lightning trim were Haim's Hebrew Hammers (yes really), fielding a Battlemaster, Phoenix Hawk, Warhammer and Wasp. All of his mechs were base models & pilots I believe.

Turn two and both sides finally got a good bead on one another with the Vedette leading the charge down the center.

In my backfield, the Infantry platoon was camped atop a building and calling out targets for the hidden LRM carrier's indirect fire. These two units would neither move nor suffer any damage all game. Firing with impunity, they would connect with a fair few missiles on Nick's forces. 

The suddenly, all hell breaks loose! The Cataphract would put an AC-10 into the head of the Highlander deleting it's life support systems (luckily not needed on this world). The Cataphract would suffer heavily for that, but remained standing. In the backfield, Nick would complain that my RVN-4X was tying up an entire lance though in truth that was not so. 

I love this photo. On the left you can see that if any of Nick's mechs were to hop over my Raven and the building behind it, then they would be squarely in cross hairs of a trio of Urbies as well as an immobilized Bulldog (not quite, but the driver was bleeding out...), which were instead sniping at limited targets and doing so at long range. 

With my Catapult, and all of my forces across the 2nd river providing fire support, my Raven-3L, Cataphract and 2nd Bulldog run straight into a hornet's nest! The Raven whiffed other than to plant a Narc beacon onto the Battlemaster, the Cataphract & Bulldog put in a few hits into the Warhammer, which along with the indirect LRM fire, brought that mech to the ground. In return the Cataphract got mauled with it's autocannon being taken out of action, as well as a rear facing ML. The Bulldog was hit as well I think, but nothing major.

The Catapult meanwhile dumped into the Highlander, hitting with both LRM 20s & large laser for a collective 40 points of damage! 

Just another angle of the brawl on the boulevard.

Behind all of this, the first bridge was heating up as well...

Successfully having run the inital gauntlet, the Vedette moved to secure the first bridge. My RVN-4X and Nick's Valk & Quickdraw all jumped onto the bridge as well (luckily it was sturdy). They traded fire but no major damage was suffered as the movement mods were pretty high all around. 

Meanwhile one of my UM-R60Ls held the 2nd bridge, daring something to come around the corner. With so many models firing, the non-firing R60Ls went unnoticed in the chaos. We don't declare mech variants beforehand, so Nick probably assumed that the Urbie on the bridge was another standard one. That said, with 4 Urbies on the table, he commented while we were deploying that there was likely an AC-20 Urbie hiding in there somewhere. 

You're about to find out why Nick really doesn't like this Catapult variant...

Things got rather ugly when Nick's Mercenaries made a late push on the 2nd bridge! The Cataphract backed up to a building to dump its now useless AC ammo (which had little armor by this point to hide behind). The Catapult took a punishing volley of fire that knocked it from it's feet, but not before it put it's large laser into the Highlander's head, vaporizing the mechwarrior within! The Phoenix Hawk & Wasp jump onto the Bridge and the Urbie damned near takes the Phoenix Hawk's leg off with an AC-20 slug! Knocking the mech to the ground. 

The Brawl from the first bridge moves on up the street following the rest of the mechs, while the vedette stayed behind, successfully securing that objective. The Narc'ed Battlemaster ran into some heavy trees to (successfully) avoid any incoming fire and damaging the 3L Raven which whiffed it's shooting at the wasp aside from plunking a Narc beacon onto the back of that mech's head.

My backline continued to fire at whatever was in range all game, the 2nd UM-R60L took a pot shot on this last turn, cratering a building and scaring the be Jesus out of the Battlemaster, but doing little more. Nick was not pleased by the realization that there were two AC-20 Urbies were on the table. Aside from the Bulldog in the trees, none of my units in this last pic suffered any damage in this game. 

By this point in time it was 9:45pm on a weeknight and Nick ran up the white flag. I held 1 bridge, the 2nd was contested with my R60L staring down a Phoenix Hawk and Wasp, both of which had one leg into structure. The Highlander was down, the Warhammer not far from it, and...well everything on that road leading to bridge #2 was moderately to severely damaged in one way or another. 

I still had a pristine LRM carrier, spotter platoon and trio of Urbies in the backfield, The Urbie on Bridge 2 took a ML hit I think. While not mobile by any means, were there still time to play this one out, he wasn't sure his battered forces could weather this untouched force, while still having to deal with my first wave units. 

Once again this was a fun scenario, and again a close one with 1 bridge held and the 2nd contested. After the first game, I was fearing Nick would arrive with his Demolisher tanks, to do to me what I had previously done to him. Likewise while the infantry spotters and 3055 LRM carrier preformed admirably, all it would have taken was 1 VTOL to zip into the backfield and wreck my day. I don't think he did anything wrong tactically, rather I just got really lucky with his traditionally built force. It allowed my static backline and sheer numbers carry the day. 

Thursday, August 14, 2025

Capture the bridges!

 o/

Charge of the 'Light Brigade'!

Nick 2.0 came over for a game this past week with another scenario of his own creation (he is much better at that than I am). Clan invasion era, 9050 BV. Originally it was just 9K, but he thought he was over by 40-odd points and I added in a platoon of hover-laser infantry. Turns out he was under by 100 points, so I just gave him a hover-laser infantry company to compensate. 

There were three bridges over impassible waterways (jumping over was allowed) and each bridge would need to be held by a controlling unit at game's end to count as a siezed objective. Killing the opposing forces was a secondary objective. We both took a ton of pics during the game, and rather than mix the two, I've decided to use his pics almost exclusively, with just a few of mine added it. Here's how it all went down:

My mercenary force consisted of a lance of Corey's Cavaliers mechs: VT-5M, SHD-3H, CGR-3K, RFL-3N, backed up by a lance of the Turtles assault armor: Schrek - Std., Ontos - Std., Behemoth - Std., Behemoth - Armor, and lastly a platoon of despondantly unemployed hover-laser mechanized infantry platoon that we found in a spaceport bar. 

Nick's force was (I think, am going off of memory) a lance of the Tikonov Lancers mechs: WHM-7M, PXH-3D, WSP-1S & RFL-3N, backed up by a lance of McCarron's 6th Armored Cavalry with: RVN-3L, ENF-4R, VTR-9D and an HBK-5M/or 5N.

Lastly, he had the loaner hover-laser mechanized company that fired the platoon that my force had hired. 

The battlefield with our deployments. 

Note the early use of a pizza template as the Raven was occupying the same hex as a hover platoon. 

Turn 1 would be unusually bloody, as my Vulcan put a large pulse laser thru the cockpit of the Raven killing the pilot instantly! The Raven's Narc beacon missed though it was a moot point as the rest of Nick's nearby forces pummelled the Vulcan, destroying it!

The remainder of my mechs sent supporting fire across the river whilst, the first bridge groaned under weight of the 375 ton tank lance meandering across it. Nick's Victor, P Hawk and enforcer fired into the hulking tanks, making them angry. 

Turn two and there were two separate brawls breaking out. On the bridge, a Capellan hover platoon inflicted 3 points of damage to the Armor Behemoth and a lucky side crit of 'crew stunned'. 3 points to an over-armored brick and I think I was more stunned by that result than the tank was! Sensing an easy kill, two hover platoons raced into point blank range of the stricken Behemoth as well as the other Behemoth's many machine guns...

The Victor and Enforcer all took hits as did a few tanks. Meanwhile the Charger and Shadow Hawk (henceforth: SHD because I am lazy), crossed the river for a pointblank duel in the backfield. 

In what would become a comically repetitive (for me) event, Nick's Warhammer fails it's piloting check and hits the ground. 

Thw Warhammer regains it's footing and the scrum is more or less a repeat of the last turn. The Hunchback lands a rare AC-20 hit removing an arm from the SHD, luckily for me it is the one with no weapons in it. 

The two leading Capellan hover platoons were now gone, and the wounded third was engaging with what was left my hover platoon in a fratricidal firefight on the second bridge. The Enforcer (it was in really bad shape by this point) and Victor fall back under the withering hail of tank fire! All three of the forward tanks had mobility crits, but the roads were largely compensating for the mobility loss. 

Both the Ontos and Behmoth #2 were trundling about at reduced speed, whereas the armor Behemoth #1 was immobilised. The Schrek and Rifleman both stayed behind to snipe at whatever targets presented themselves, the the Schrek securing the bridge. 

The damaged, lead Behemoth makes a miraculous roll of 11 on its PSR to round the corner a flank speed without skidding! The Victor jumps back across the river while the Enforcer makes a run for it. Whilst the Enforcer's rear armor is notoriously thin, at least it had armor in that location! The backfield scrum continues with the Schrek sniping the Wasp out of existance with a lucky PPC shot.

Run Forest, RUN! The gunners on the Ontos cackled maniacally as they unleash hell on the fleeing Enforcer. The Behemoths meanwhile concentrate their fire on the Victor.

2-3 falls later, the beat-all-to-hell Warhammer starts an orderly retreat along with the rest of Nick's remaining forces. The SHD brazenly contests the 2nd bridge as an AC-20 slug whizzes by! As you can see by the new set of flames, the Enforcer had unsurprisingly succumb to the Ontos' laser light show. 

A wider angle of the board. Also down and burning was the Victor. After another massed volley of AC-10 slugs, the mech failed it's PSR, inflicting a critical hit on itself during it's fall, which if I recall correctly hit the SRM ammo bin. Meanwhile the SHD suffered a CT crit of a 'lower-6'. Normally that would be the SRM ammo and certain death, but this was a 3H model. So instead of another mech kill, all Nick did was wreck a machine gun.

I'll probably never field the 2H model again...

In the final turn the Charger moved up onto the 2nd bridge to help the beleagured SHD secure the objective. While it would be successful in this endeavor by distracting the Hunchback, it came at a heavy cost. An AC-20 slug punched thru the rear torso armor and hit an almost empty LRM-20 ammo bin. CASE and an XL engine took care of the rest and the Charger was down for the count!

Still falling back, the Warhammer relinquished control of bridge #2 and with my Schrek still parked on the first bridge. Victory was mine with 2 out of 3 objectives secured! That said, the Hunchback was still in my SHD's backfield, rendering the 'secure' status of the 2nd bridge tenuous at best. 


All told Corey's Cavalier's  lost the Vulcan and Charger, with the SHD suffering heavy damage. The Rifleman was untouched. As for the Turtles, the armor variant Behemoth was immobilised and the standard one was moving slowly with it's right side internal structure well exposed. The Ontos had a moderate amount of damage, but nothing too serious and the Schrek in the back was untouched. 

The Tikinov Lancer's lost the Wasp, the Warhammer was on its last legs, whereas the Rifleman and Phoenix Hawk both had just minor damage. McCarron's Armored cavalry on the other hand only had the lone Hunchback survive with relatively modest damage. 

Lastly, not a single mechanized hover-laser infantryman/woman survived the battle.

This was a fun one and like Nick's last scenario, we will be playing this one again in the future, with attacker and defender's roles reversed. 


Monday, July 28, 2025

Exercising the Nuclear option...

Right were this debacle fell apart...

Following my last campaign game and its subsequent rant. Last Tuesday I finally played the follow up mission where my wrecked lance, and a second 4100BV relief lance had to escort the spy again. My relief force was an Assassin, Phoenix Hawk, Panther and Valkyrie, all base models with 3/4 pilots in all but the Valk which had a 4/5.

We used my coolant truck rather than the ugly mini provided for the spy's truck. The spy was once again riding in the same 40HP vehicle with and SRM2 turret, 1 whole vehicle hit location, and the movement curve of a Demolisher tank. My mission was to escort him/her to safety, 3 maps away (where the relief force was coming from), as well as get all of my mechs off of the board, inflicting what damage I could on the OpFor along the way. 


Victory lay waaaay over there on the right edge.

The OpFor was a lance  consisting of a Mongoose, Locust, Wyvern, Crab and a Partisan tank. All base models I believe. I had 2 *free* turns of movement before the persuing OpFor arrived. My locust ran like hell, as did the slow ass truck on road for what little benefit that provided. My relief force did the same but was so far away that only the Assassin, moving almost like a LAM and the not far behind Phoenix Hawk would really take any part in this debacle.  

 Only the all but destroyed Royal Locust would manage to get across the whole board, the rest of the original lance would perish on the first map, with the truck barely making it onto map two before it's demise seen here. 

When the OpFor arrived, my last stand started with pummeling the Wyvern with all the Stalker and Hunchback could muster. In return, my commander's stalker was decapitated by a large laser hit (the head took a medium laser in the prior game), killing my CO instantly and dropping her shattered machine. The following turn, as the OpFor (unsurprisingly) caught up with and destroyed the truck, the Hunchback Alpha struck, and would have risked a shutdown from heat due to a last game engine hit had it not been destroyed out right (as it was). 

The Buffet Assault Group's roster post-game.

The only saving grace was the Assassin managed a snake eyes location on the Mongoose, inflicting an engine and gyro hit, sending it into withdrawl. The following turn my forces started to retreat enmass with the Catapult also falling to 2 more engine hits. 

Sounds fun doesn't it? 

On top of the suicide mission with no hope of victory, I was penalized -30 warchest points (about the cost of a light mech) for each mech lost, and a further -40 warchest points for the loss of the truck. This was somewhat mitigated by gaining +25 WCP for each OpFor mech sent into with drawl, those being the Mongoose and the Wyvern which was down to 1 structure point left in it's left leg. 

This scenario was so much fun that after the game I posted on the campaign discord channel that (quote):

 After playing back-to-back not at all fun to play scenarios & I’m not throwing any shade at Shadowstar either, The Buffet Assault Group is breaking contract. 

I’m out of the campaign, best of luck to the remaining players.

Shadowstar who was running the OpFor and had already suffered thru this scenario himself and was apologizing profusely throughout the game (and preemptively before any mechs were even deployed). His game ran better than mine only as he managed 3 consecutive headshots on the OpFor. That said, his spy truck died at the same approximate location as mine did. Extremely good die rolls should not be the only path to victory (I think his game was more or less a draw). We have no idea how the spy truck was supposed to cross the whole map, and why this didn't pop up in 'play testing'. 

The cat herder returns!

My exit caused a bit of an uproar, many private convos with folks in and out of the campaign, and ultimately is causing this leg of the campaign to end on this game. Digger will be once more taking the reins of scenario creation back. The guys who were running don't want to 'deal with the dysfunction' and don't understand why nobody is having any fun getting pasted repeatedly in no-win scenarios (they seem to be enjoying themselves, go figure). 

It wasn't my intention to kill this leg of the campaign, but after taking a month and a half of the summer off from the campaign itself, my first game back felt like an infuriatingly wasted night, instead of a fun time as it ought to be. I've also been told that the nerd rage was steadily building across the board and all that I said in my private convos with Digger post-exiting the campaign has already been said by most everyone else on the players side.

So my TBAGers will return, no doubt enticed back by a lack of other employment options and perhaps a meal plan tossed in to sweeten the deal.  


Monday, June 2, 2025

Since when is a Blackjack the game's 'Hero mech'?

 o/

Take it! Take it bitch take it!

Nick 2.0 came over to my house for a game last week and he had a scenario all set to go. Prior to the battle, all the information I received was the following: 4800BV, Lostech era with at least 1 assault mech required for each force. 

The Scenario:

The attacking force's dropship took a hit coming in and the attacker's mechs were randomly scattered across the field in an emergency evac from the dropship. Over the middle of the board, a D6 for each mech was dropped onto the map and wherever a die landed, so did a mech. The defender would roll to see which long map edge side they would deploy from. Of the attacking mechs, the assault mech's navigational systems were damaged in the emergency drop, and so would need to be escorted off of the field to safety. All attacking mechs needed to flee the field on one of the short board edges, with the escorted assault mech being neither the first or last one off of the field. 

Points were also awarded for mechs that were crippled, had limbs blown off, etc., as well as destroyed and for those that successfully escaped.

The battlefield, with both sides deployed. 

We rolled and I would be the attacker. My 65th Lyran Regulars force consisted of: a Blackjack BJ-1, Whitworth WTH-1, A Javelin JNV-10N, a Griffin GRF-1S, and lastly a Charger CGR-1A1 (which, turned out to be rather fortuitous). Nick was fielding his wife's mercenary command (so why doesn't she come to play?) the Green Knights consisting of: a Spider SDR-5V, a Hunchback HBK-4G, a Centurion CN9-A, a King Crab KGC-000 and lastly (and for only 4 turns when darkness fell and it flew home) a Shilone SL-17.

Nick modified the aerotech rules a bit to make the fighter playable and it worked fairly well. Here is how the game went:


As (bad) luck would have it, the poor Whitworth would find itself all but surrounded on turn one! The Javelin tried to assist, but a few SRMs to the back didn't stop an AC-20 slug from hitting the Whitworth's CT!

Because the King Crab and Shilone weren't enough to worry about, the Spider and Hunchback were coming after the whitworth as well!

My Charger advances while in the background you can see the blinding flash of that AC-20 slug hitting the Whitworth!

Somehow the Whitworth survives, and after the Hunchback moves in front of it I, as Nick put it: 'took the bait' and moved into the Hunchback's rear arc while the King Crab moved in for the kill. 

While my Whitworth dumped the LRM ammo out to avoid any ammo explosions, it managed to score a rear torso hit on the HBK, though not causing any criticals. The King Crab meanwhile missed the Whitworth entirely, huzzah!

In the middle of the field, the Shilone roared overhead, striking the Griffin, as did the Centurion and Spider. 

In return the Griffin cinematically, fired in all directions, putting a large laser in the Spider's leg, almost taking it off, 3 or so LRMs into the far off Centurion and a single medium laser hit to the Shilone's aft!

We interupt this battle for a Neeka induced intermission. 

Then, the Griffin promptly rolled a snake eyes for it's PSR and fell down. It would take (2) attempts to stand back up, beating itself up in the process).

The fast moving Javelin prepares to lead almost as fast moving Charger off of the board!

Somewhere along the line the Griffin had hit the Centurion in the fight torso with it's large laser. As such it was at this juncture that more or less quietly fighting in the background Blackjack made itself known. 

Firing its quartet of medium lasers at the Centurion, it put 3 of them into the mech's right torso, going internal with 2 shots, and hitting the mech's LRM ammo, vaporizing it! 

On the next turn Nick lost the initative, and as my Javelin and Charger fled the field, the BJ-1 opted for a rearguard duty and moved in behind the King Crab. It put a few lasers into the beast and then 1 level up on a hill, delivered a kick to the KC's right arm!

As the Shilone flew overhead, heading out as the light faded, the Hunchback removed one of the Whitworth's arms, scoring Nick a point! The plucky Whitworth nonetheless stayed on it's feet.

While the Whitworth is no faster then the Hunchback, it is also no slower. Thus the heavily damaged mech ran away, keeping the AC20 beast at max range while the Spider harassed it for all it was worth. Despite the terrifying start to the Whitworth's game, it too would successfully flee the field. 

The 5/8/5 moving Griffin was doing the same on the opposite side of the board. Jumping over terrain and likewise holding King Crab at range. Here it is, all lined up for it's victorious run off of the board. 

Which brings us back to the Blackjack. Outnumbered 3-1 (and standing here in some heavy trees), having done most of the damage thus far, it too now had to make a run for it. 

Hopping hills and guns blazing, it had to resort to just a single laser into the spider, and then whipping the arms around to (unsuccessfully) try to hit the KC with it's AC-2s for a turn to bleed heat as it was at a +9 which is quite detrimental in this situation. Especially with AC-20 slugs hitting all around it!

It hopped the hill and did it's best to hide again while the massed AC-20s rearranged the landscape before it also was able to run off of the board at last!

Well, that was a rather crushing victory! I don't recall the points gifted for each mech off of the field but as Nick only had a single point due to removing the Whitworth's arm, the point was moot. My charger kinda messed up his scenario due to it's speed (it never fired a shot and only suffered a few medium laser hits all game). 

While it did not live up to it's name this tiime, I couldn't help but take a few extra pics of Nick's pretty paint jobs.

Note the detailing on the Hiunchback's base!


That said, this coming Wednesday we are playing this scenario again with the same forces, and the roles reversed. Given that my biggest guns will be on the Shilone for 4 turns vs. all of these AC-20s, we will see how that goes...